Sensory Room on a Budget : Planning and Wishlist
Both kids love and really benefit from a sensory room. For almost three years, we’ve talked about making our spare room a Sensory Room. It is, however, also the junk room, the clothes airing room, the storage facility of outgrown and handmedown clothes that A has outgrown but W is yet to grow into and primarily Willow’s dressing and changing room. It’s THAT room. Oh and in order to fit two children into our room with us, it also hosts our huge wardrobe full of our clothes too! The top of said wardrobe hosts stationary, craft, jewellery. All sorts.
It’s very full. Or it was, until yesterday! We emptied, sorted and moved the wardrobe back into our bedroom, after a bit of a reshuffle. Mr T’s parents were here so could play with the kids. It feels great already, just to have shifted clutter!
We have the IKEA day bed in there, which is perfect for guests and also perfect for sitting on with the kids surrounded by cushions, so that will stay, this still needs to double as a guest room as well as Sensory Room and Willow’s room.
There is also a huge chunky pine chest of drawers in there that contains the many clothes of Willow, this needs to stay too, but the top doubles as a changing table and will be large enough to hold Willow for many years to come.
For about two years we’ve called this room the rainbow room. There has been no rainbow but a seed of an idea of there being a rainbow! I made rainbow bunting to go above where Willow gets changed but that’s it!
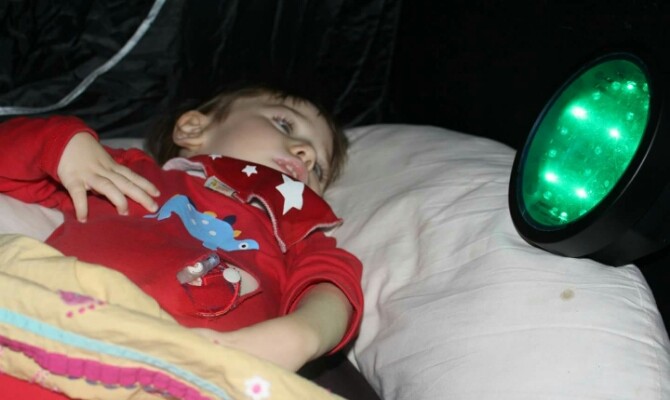
However, we are on! W is having major surgery tomorrow, a bilateral osteotomy, she will be in hospital for the rest of the week then in a hip spica for at least three weeks, more likely up to six weeks. Her main place to reside will be on a beanbag, so I’m planning on turning the room into a Sensory Room over those few weeks around her sitting on a beanbag in the room! A friend has donated said beanbag, I pick it up today.
Two years ago, the kids and I made a rainbow painting with our feet, it has been on our todo list to frame and put on the wall since! Well, it isn’t framed, but it IS on the wall.
The problem is, we have no spare cash to spend on this, so we will be converting this room into a Sensory Room on a very tight budget. There are a few things we need to buy, a UV bulb and blackout fabric for the huge window in that room, and probably a few little bits, but that’s it, anything else can be bought bit by bit later, or as Christmas and birthday presents. We already have plenty of Sensory toys, we have lamps and star shows, we have UV toys, we have stick on stars and we have paint and also a forest scene wallpaper that I hope to go on one wall.
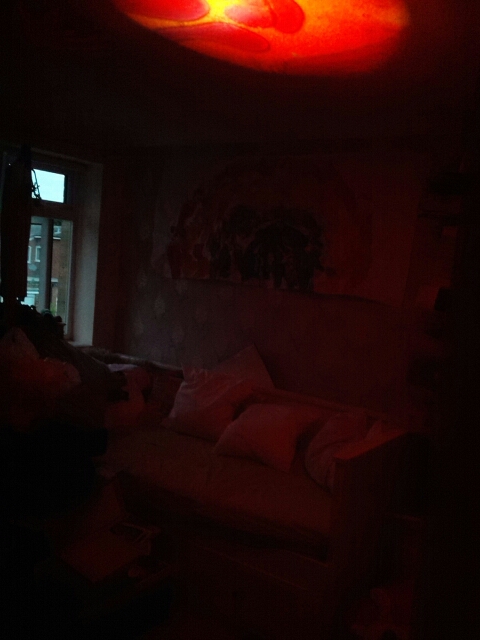
Let the show begin! Watch this space! Chops and I couldn’t resist putting the projector on at bedtime, moving some debris out of the way and getting a glimpse of what it would be like.
Follow Fee’s board DIY Sensory Room on a Budget on Pinterest.
