Turning 9
Middle of the night musings, reflecting on our journey and feelings. Read more ›
Middle of the night musings, reflecting on our journey and feelings. Read more ›

How to earn your badge; 1. Make a model or draw a simple diagram of the solar system. Ideas: Papier mache solar system/oratory building (in Lego?) 2. Explain the difference between a planet and a star. https://www.worldatlas.com/articles/how-can-we-tell-the-difference-between-a-star-and-a-planet.html 3. Learn how… Read more ›
Well, one thing has come from this general election, at least. The will of the British people is to leave the EU. At the cost of so much. More lives will be lost, the poor will continue to get poorer,… Read more ›
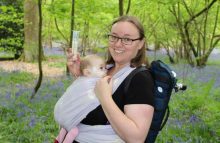
I’ve been thinking about writing this blog post for about 2 months. At the start of September we organised a ‘not back to school’ picnic for local home educated kids and families. We met at a local park, there were… Read more ›

It matters. It matters a LOT. I lost my way a few months ago, on my weight loss journey, I questioned Herbalife, questioned the products, the plan, myself, single-use plastic use and Plastic Free July gave me the excuse to… Read more ›
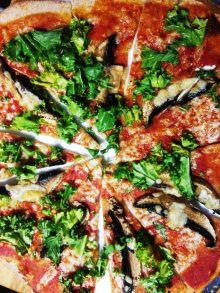
Saturday night is pizza night in this house but pizza isn’t the best choice when you’re trying to be heathy, even less if you’re on a 21 day health and fitness challenge! Saturday night became pizza night when Chops was… Read more ›
You look at my pictures on Facebook of our festival so far. You see fun and smiles and a good ‘wholesome’ time. Great family experience! Day 1 at the Bluedot festival looked ace. On Facebook. Reality? It had me questioning… Read more ›
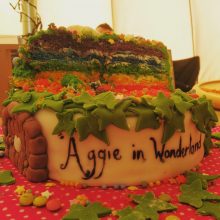
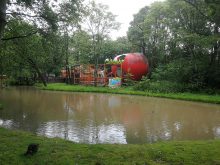
A surprise party in our baby woodland for my Mum’s birthday. She thought it was just Team Taylor having afternoon tea in our bell tent. Instead it was lots of her loved ones hiding in the trees ready to surprise… Read more ›
We had a really great day at Gulliver’s yesterday on a home ed day organised by another HE Mama. It was such a joy seeing The Boy relaxed and happy being with his new buddy, the pair of them so… Read more ›
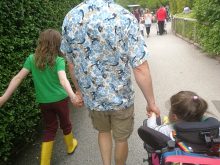
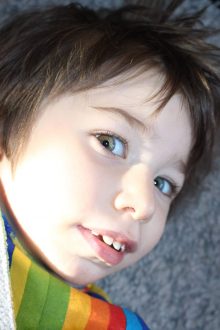
Once upon a time I had my heart broken on a family day out. My thoughts for our future shattered and jilted in one day out. Miss W was only 2 or 3 years old but already a wheelchair user… Read more ›